


Prerequisite
This tutorial comprises hands-on demonstrations. To follow along, you must have an AWS account with active billing enabled for IAM USER
Setting Up EC2 Instance
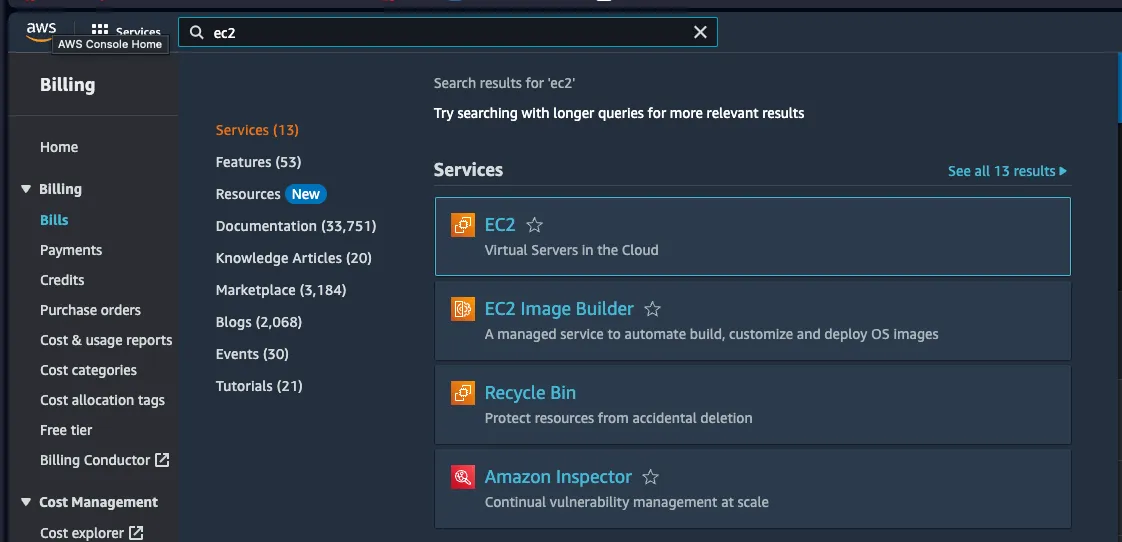
Access your AWS Management Console via your preferred Web Browser search for “EC2” via the search panel
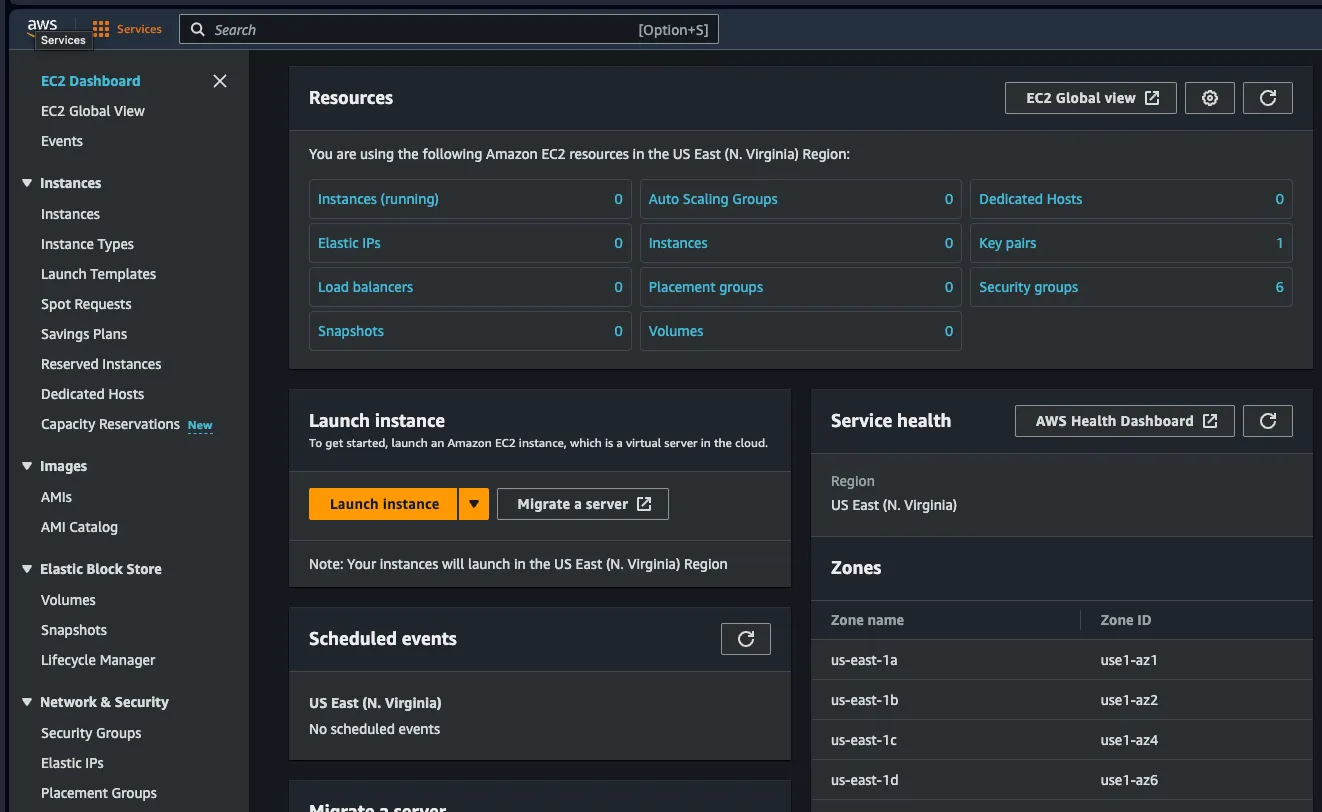
From the EC2 Dashboard start your Instance by clicking on “Launch Instance”
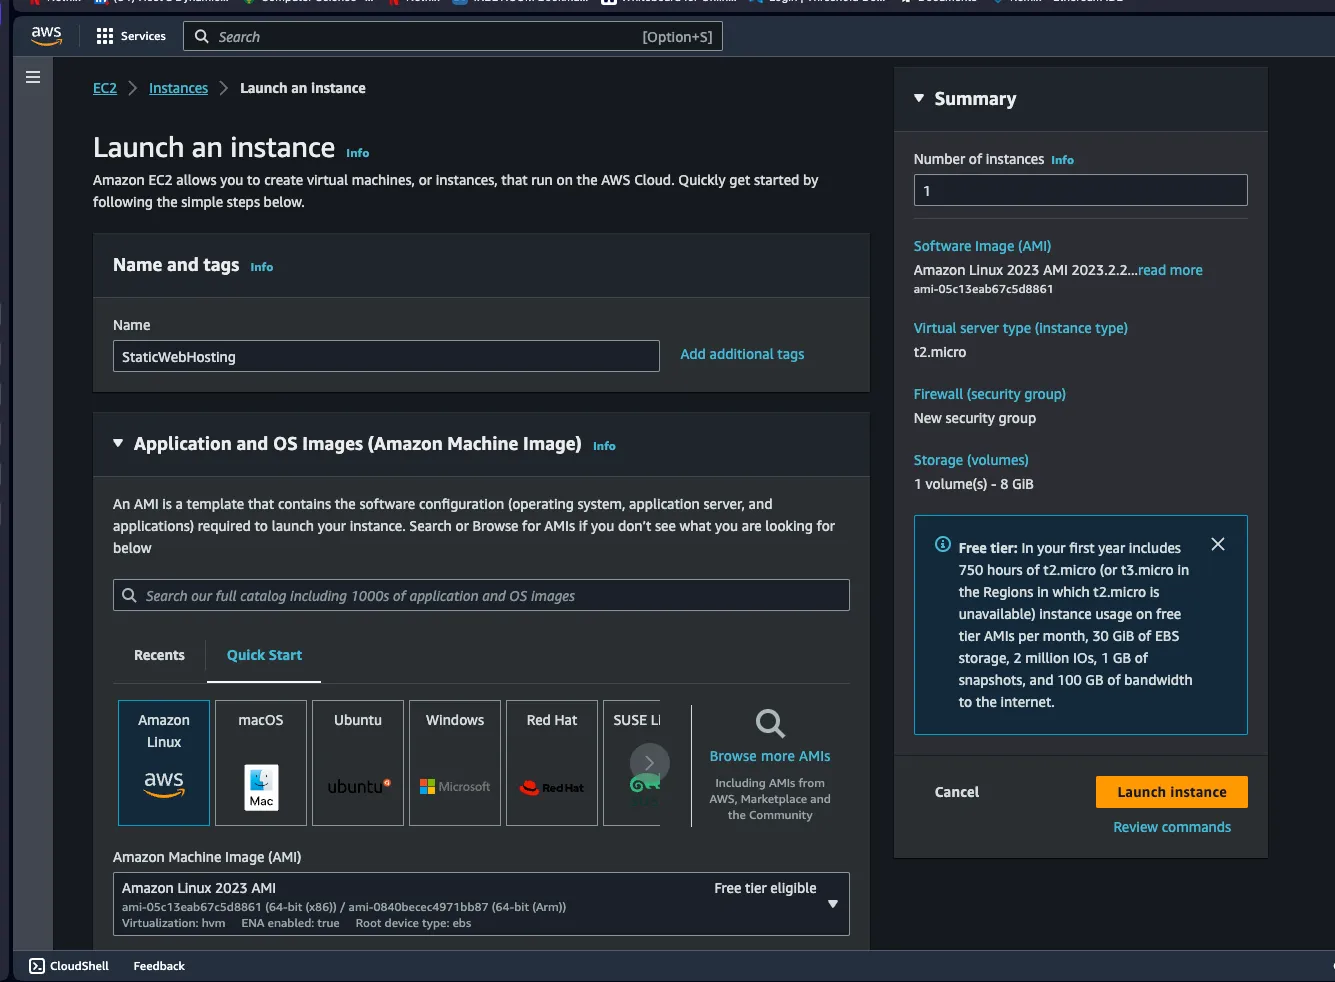
On click of the “Launch Instance” configure your EC2 instance by giving a name of your choice and select the appropriate Amazon Machine Image (AMI) for my case i’ll be using Amazon Linux
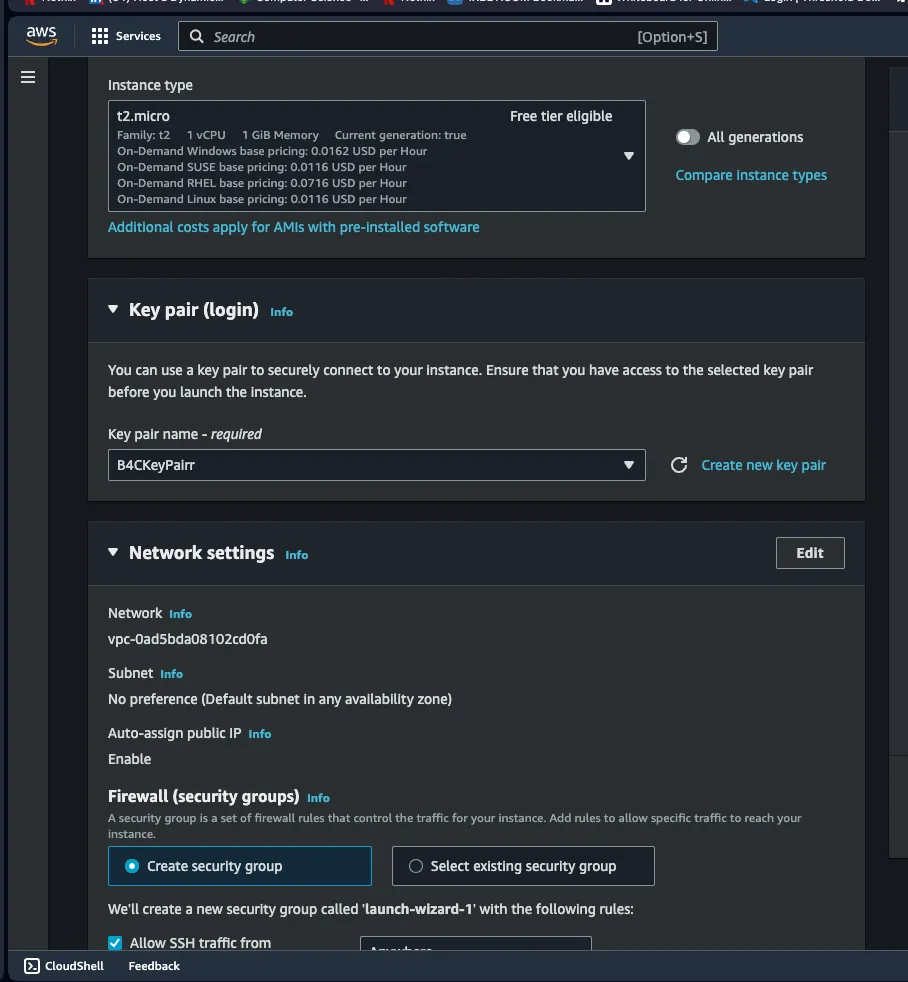
Next step, scroll down and select your instance type, create KEY PAIR and set up your security group.
My Instance Type is t2.micro and my security group allow HTTP and SSH access
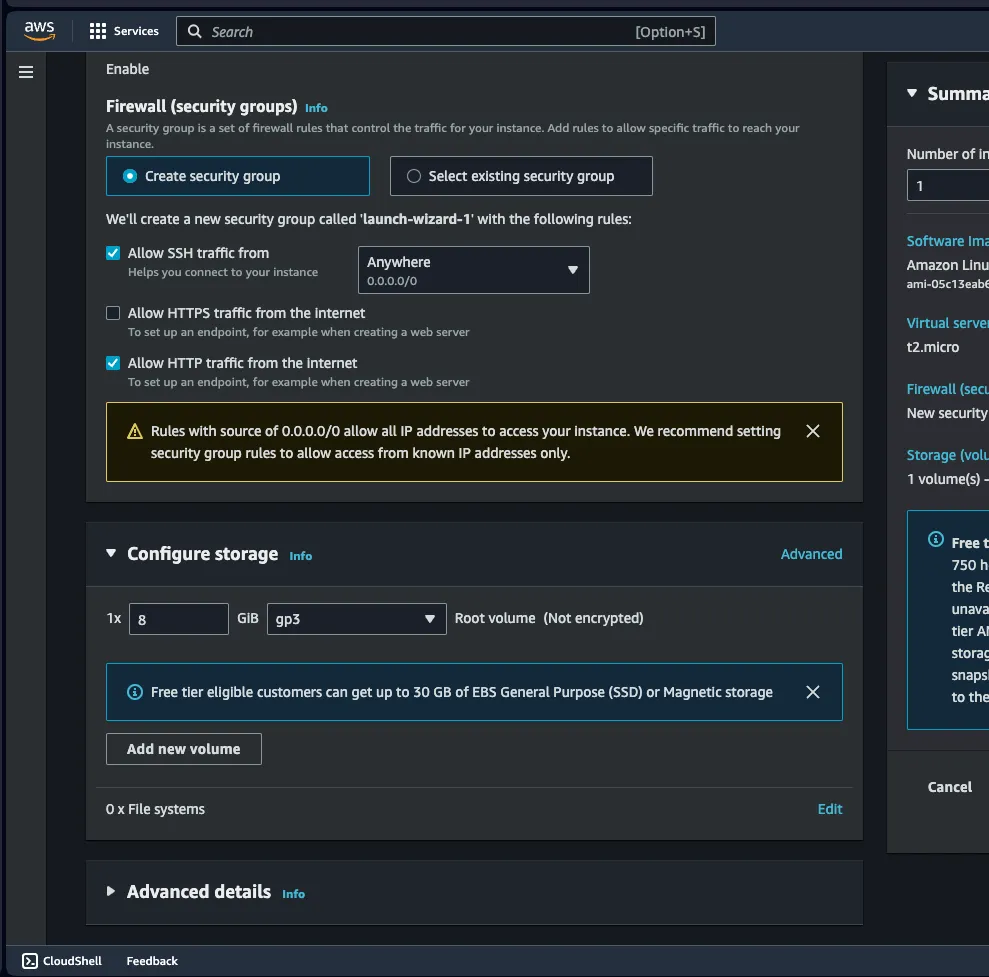
Click on additional details and scroll down to user data,
User data is primarily used to execute scripts during the instance startup.
Add the codebase below to your user data
#!/bin/bash
# Use this for your user data (script from top to bottom)
# install httpd (Linux 2 version)
yum update -y
yum install -y httpd
systemctl start httpd
systemctl enable httpd
Finally lauch your EC2 instance, before we proceed let me explain the codebase we have above
#!/bin/bash: This line specifies that the script should be interpreted using the Bash shell.
# Use this for your user data (script from top to bottom): A comment providing guidance on how to use the script.
yum update -y: This updates the system packages using the Yellowdog Updater, Modified (yum) package manager. The -y flag automatically confirms any prompts during the update.
yum install -y httpd: Installs the Apache web server (httpd) using yum. The -y flag auto-confirms the installation.
systemctl start httpd: Starts the Apache web server using the systemctl command.
systemctl enable httpd: Enables the Apache service to start automatically on system boot using systemctl
Meaning we’ve successfully installed Apache on our webserver

Accessing EC2 via SSH
You can access EC2 via “EC2 Instance Connect” or AWS CLI, both provides same features and same code works on both just that for AWS CLI you need to supply your KeyPair also your EC2 needs to be assigned an IAM Role with an IAMReadOnly policy
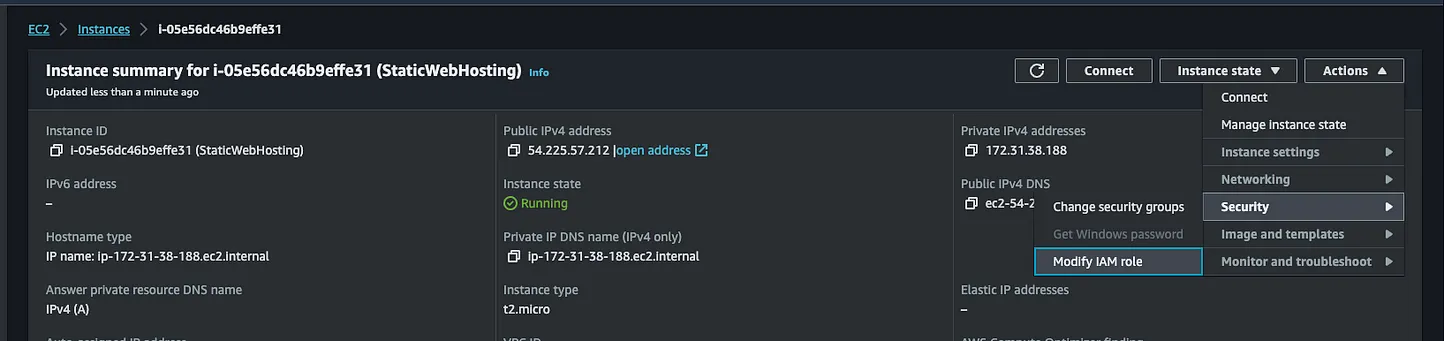

Now connect to you EC2 instace via the “EC2 Instance Connect”
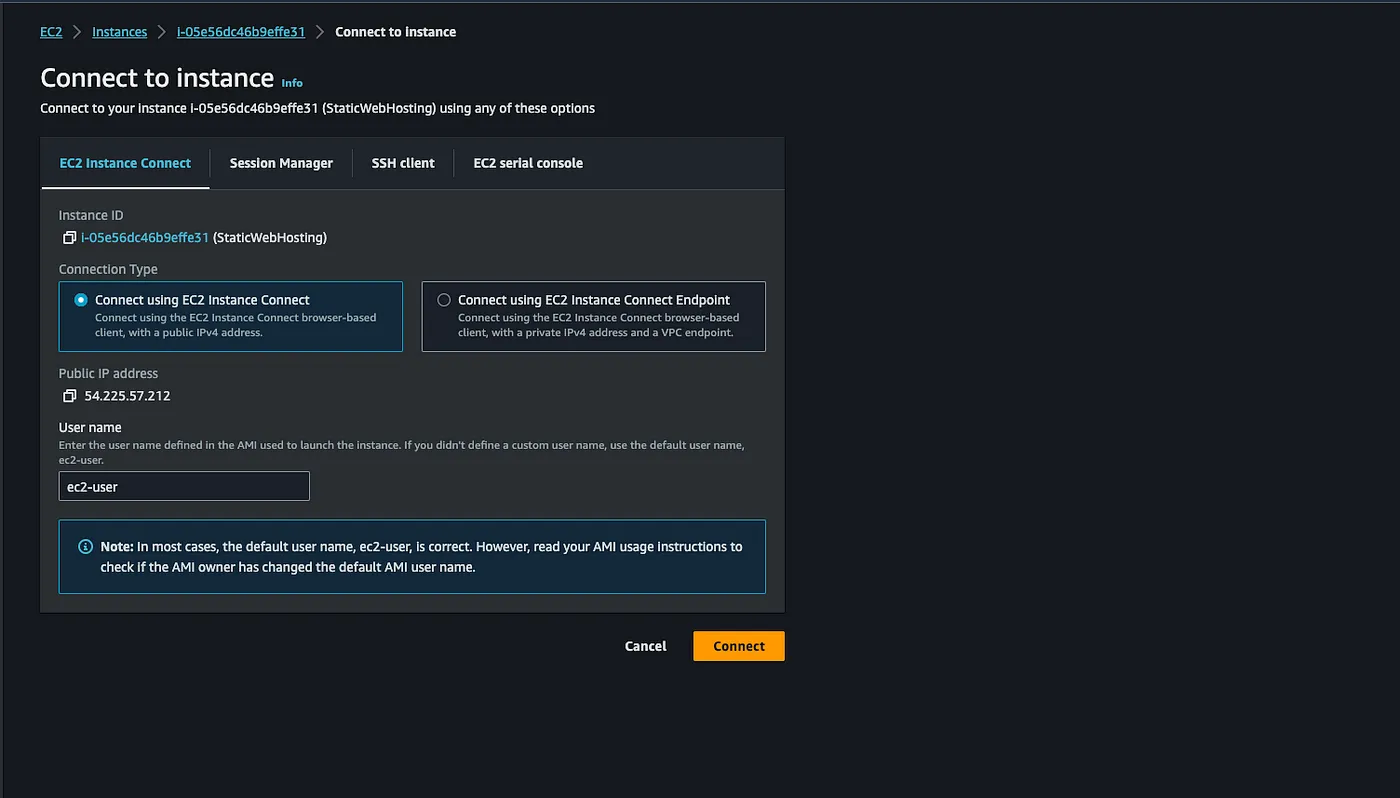
Run the code below to grant write access to the /var/www/html directory
sudo chown -R ec2-user /var/www/html
Accessing EC2 via FileZilla
Files can be uploaded direectly from your AWS CLI or the use of third party of application like FILEZiLLA download via the official url (here), this is pretty fast so i’ll be adopting this method
Let go,
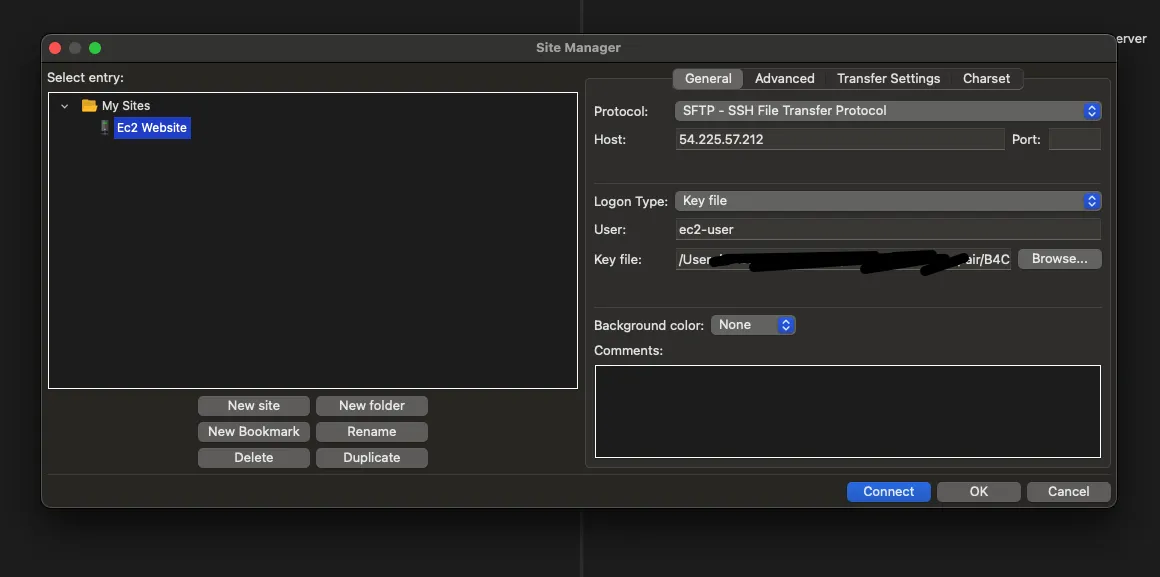
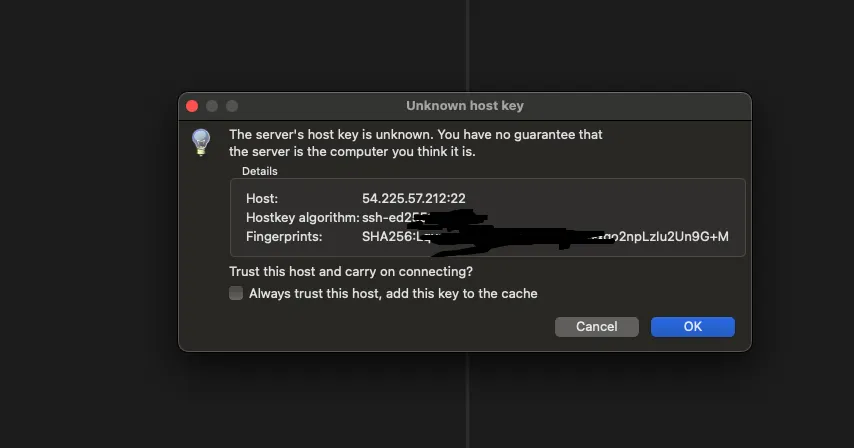
Click on site manager from the menu bar, then create a new site.
Protocol — SSH File Transfer Protocol
Port = 22
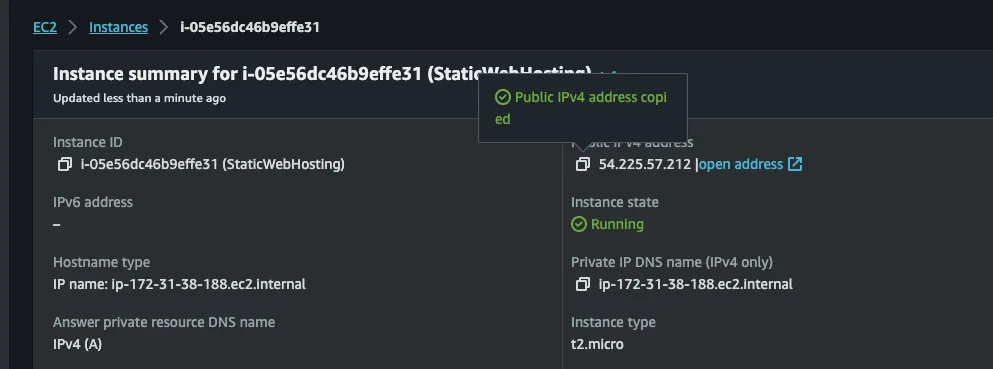
Host = Aws EC2 public ipv4 address or Public IPv4 DNS
Username= ec2-user
Logon Type = Key File
Keyfile = directory to your ec2 keypair file(.pem)
Ec2-user is the default username given to you by aws when using AMAZON LINUX AMI please crosscheck incase you have a custom username
After connection access the /var/www/html via FileZillaAfter connection access the /var/www/html via FileZilla
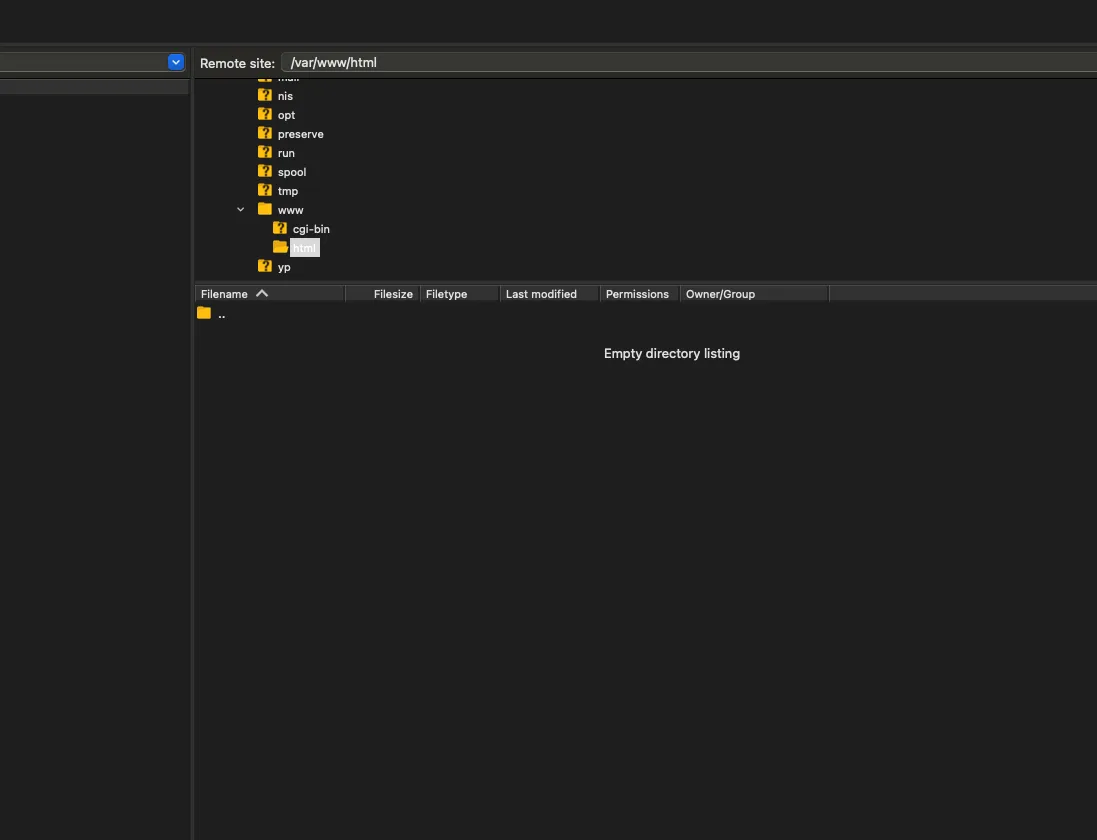
Drag files you want to upload to this pane then access the EC2 public ipv4 address or DNS from your web browser

Now we’ve configured a fully functional Apache web server, and uploaded a static webfile on our EC2 Instance
Comment, share and tag me to discuss!
Connect on LinkedIn👉 here.
That’s all for now, ciao :)